
Forget old school flower presses that take weeks to work–the future is here! Use this tutorial to make your very own microwave flower press, all with materials you already have at home. Once you’ve created your vibrant and beautiful florals, piece them together on a piece of paper to create a unique collage that’s perfect for any gift.
To create your own microwave flower press, you’re going to need a few pieces of cardboard, tissues/paper towels, and 4 rubber bands. Place three layers of tissue on the first piece of cardboard, then fold a few of your flowers into a tissue. Put three more layers on top of it then the next layer of cardboard. You can continue this process until you use up all of your flowers.

Once you’re done, wrap rubber bands around it to keep everything pressed tightly together. Put this in the microwave for 40 to 50 seconds. You may have to experiment a little with the timing–just keep in mind if you leave it in for too long, the flowers will burn and you’ll have a funky smell wafting throughout your house. Believe me, no one wants that!

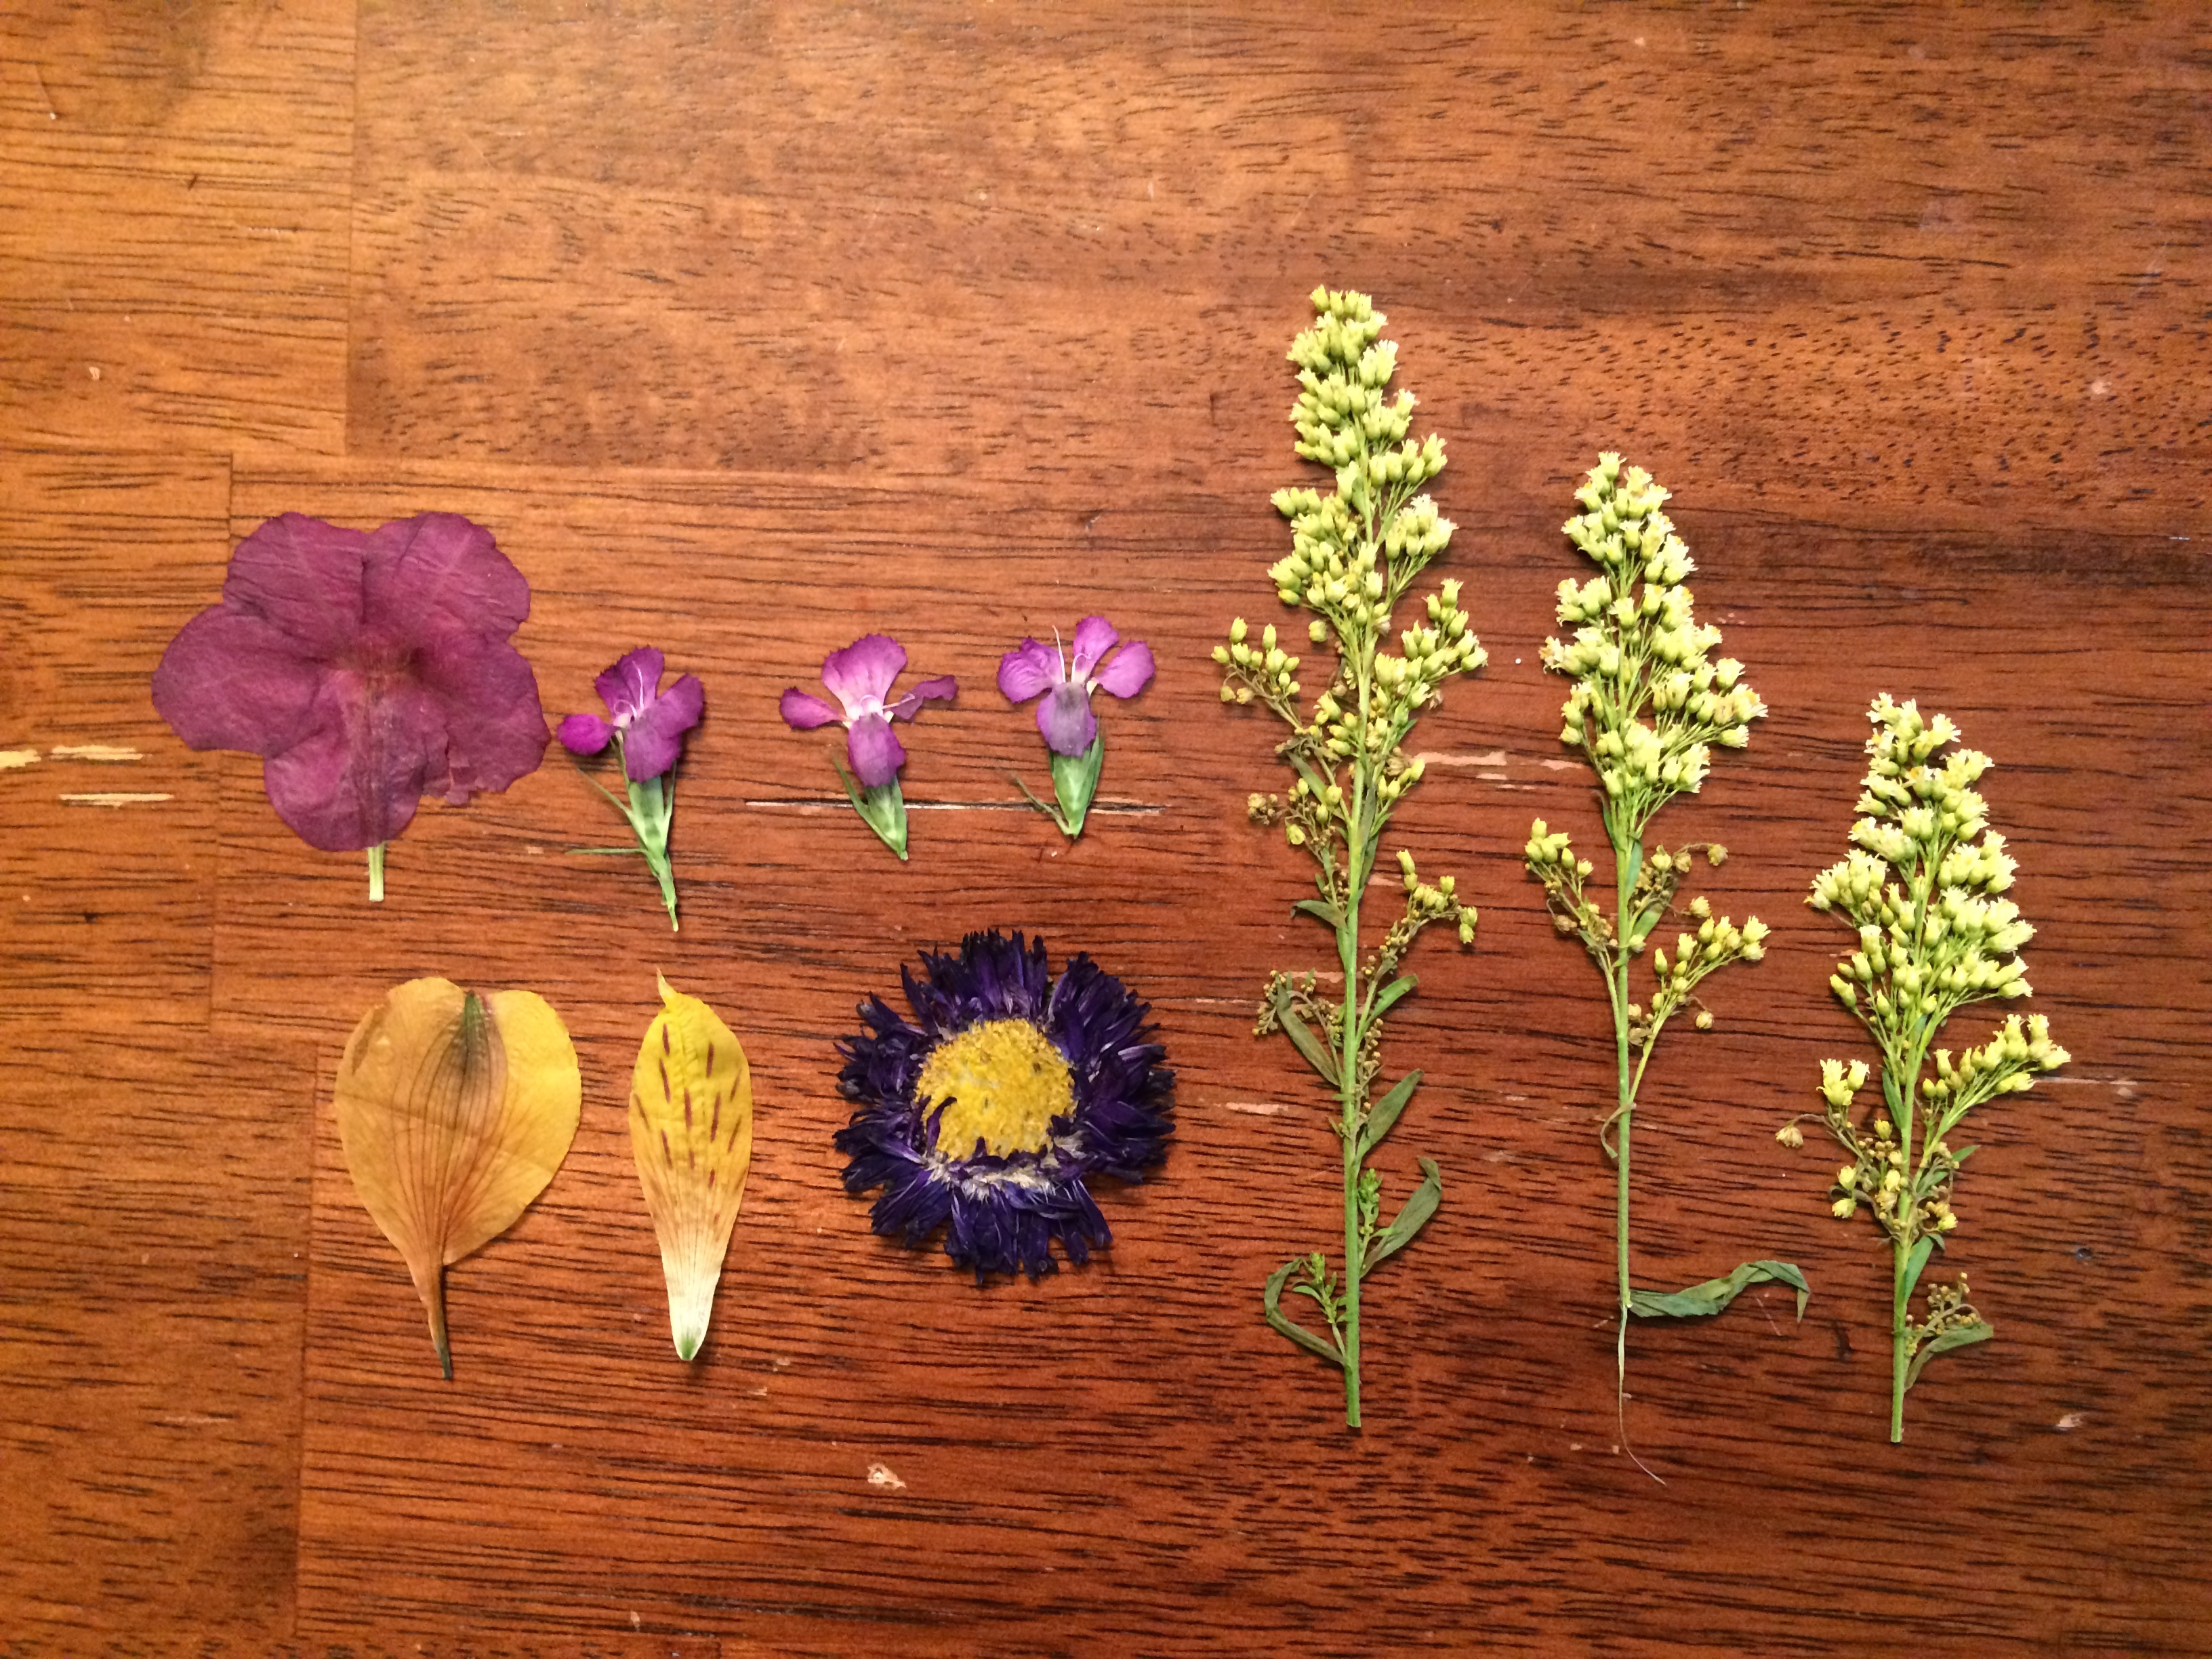
Carefully peel the tissue away from the flowers. They will be delicate so handle them with care. Here’s what some of my dried and pressed flowers looked like!
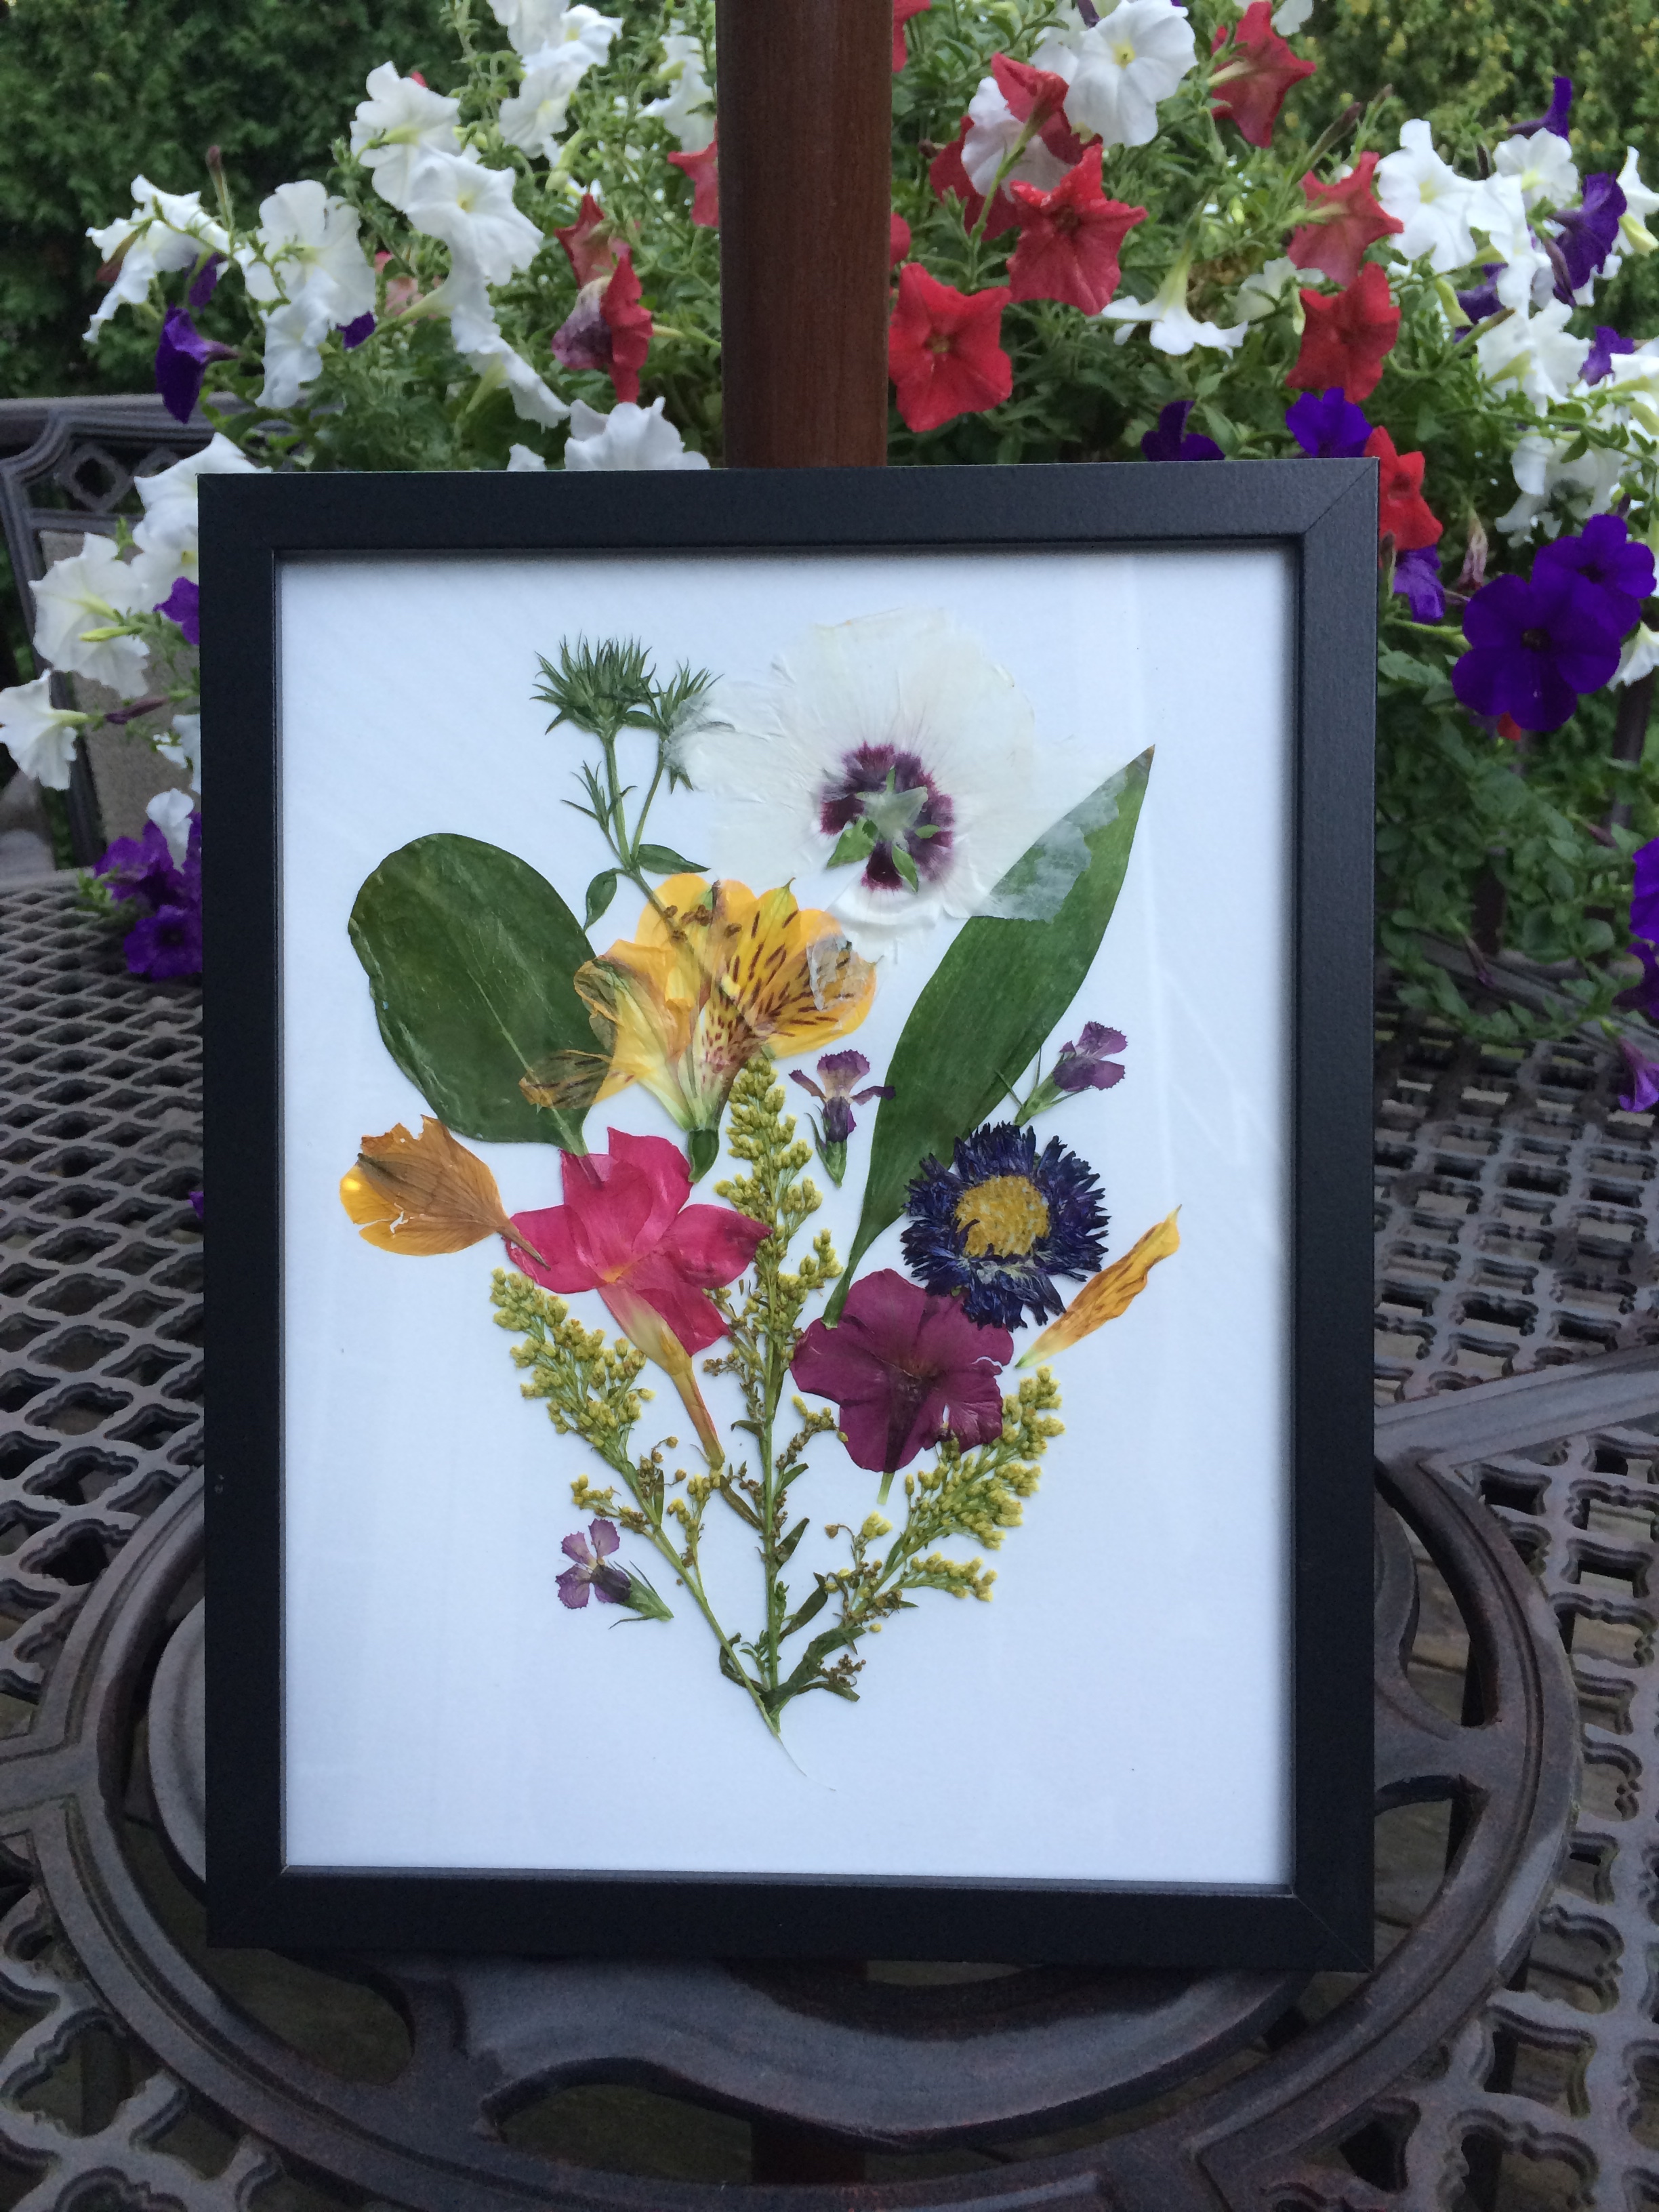
Arrange the flowers on a piece of printer paper or heavy paper. Make sure it fits the picture frame you plan on displaying your floral masterpiece in. You can make a design or spread them out however you like. If you need some ideas, I recommend checking out Etsy or Pinterest.

Using a paintbrush, apply clear Mod Podge on the backs and fronts of the flowers, sealing them to the paper. It’s okay if some of the white goop is still visible–it will dry clear in a few minutes. After the Mod Podge dries, pop your collage into a picture frame and you’re all set. Good luck and happy crafting!


